Understanding Peppermint Bark Composition
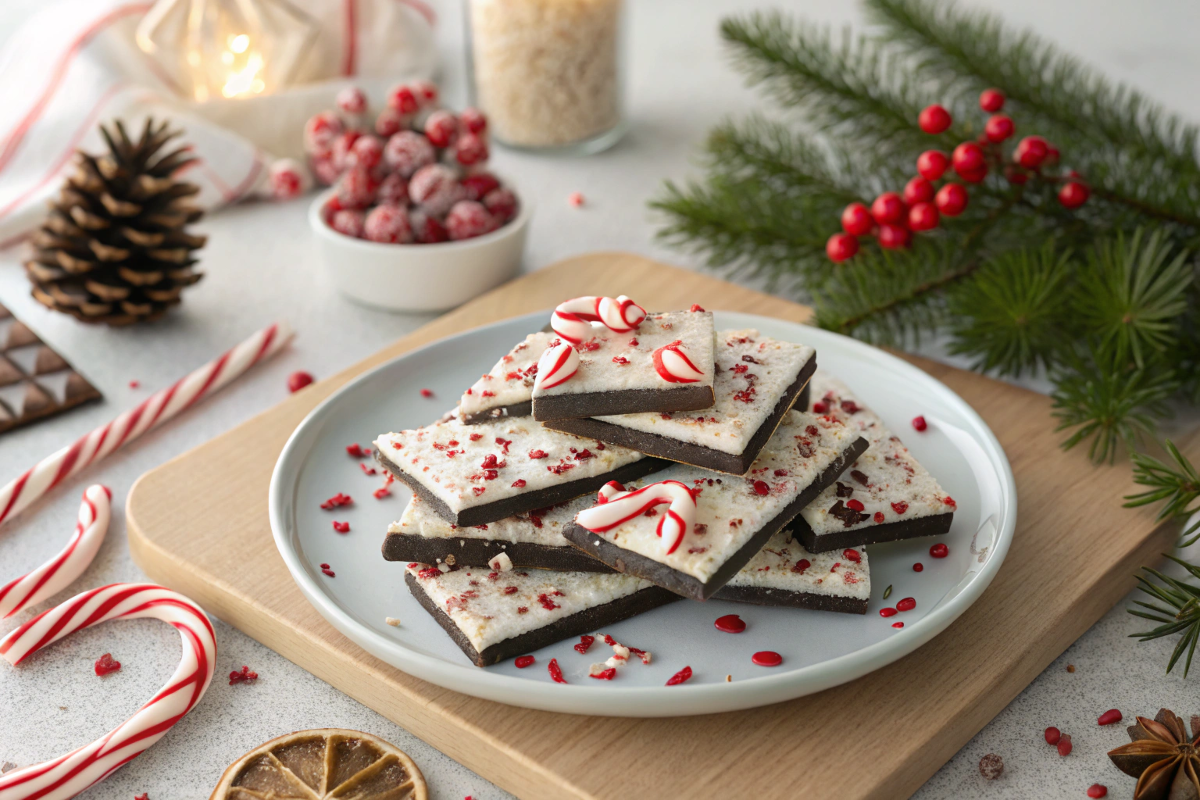
A common question among holiday treat makers is, Why does my peppermint bark separate? Peppermint bark is a simple yet delightful treat that owes its appeal to the combination of complementary layers, cohesive structure, and high-quality ingredients. Each element contributes to its flavor, texture, and overall success as a holiday favorite.
The Two Layers of Peppermint Bark
Peppermint bark is defined by its distinct layers, each playing a vital role in creating its iconic taste and texture.
- Chocolate Base:
- The base layer typically consists of dark, milk, or white chocolate, providing a smooth and rich foundation.
- This layer balances the sweetness of the peppermint topping while offering structure and depth to the treat.
- Peppermint Topping:
- Crushed candy canes or peppermint pieces form the top layer, adding a burst of refreshing mint flavor and a satisfying crunch.
- These toppings also enhance the visual appeal, giving the bark its festive appearance.
The harmony between the smooth chocolate base and the crunchy peppermint topping is what makes peppermint bark so beloved.
Role of Binding Agents
Binding agents are crucial for ensuring the two layers of peppermint bark stick together, preventing separation during cutting or storage.
- Importance of Binding:
- Properly melted chocolate acts as a natural binding agent. Ensuring the chocolate is warm and slightly soft when adding the peppermint topping helps the layers adhere seamlessly.
- Without adequate binding, the topping may fall off, affecting the texture and presentation.
- How to Enhance Binding:
- Lightly press the crushed peppermint into the melted chocolate while it is still soft.
- Allow the bark to set at room temperature or in a cool place to solidify the bond between the layers.
By focusing on the binding process, you can create a cohesive and visually appealing peppermint bark.

Impact of Ingredient Quality
The quality of ingredients directly affects the flavor, texture, and consistency of peppermint bark.
- Chocolate Quality:
- High-quality chocolate melts more evenly, sets smoothly, and enhances the overall flavor.
- Low-grade chocolate with added oils or fillers can lead to uneven textures and a waxy taste.
- Peppermint Topping:
- Fresh, brightly colored candy canes or peppermint pieces maintain their crunch and flavor, elevating the bark’s appeal.
- Stale or low-quality toppings may soften or lose their flavor, diminishing the treat’s overall quality.
- Additives and Fillers:
- Avoid using chocolates with excessive additives, as they can affect the consistency of the melted base.
By prioritizing premium ingredients, you can ensure your peppermint bark achieves the perfect balance of flavor and texture.
Understanding the composition of peppermint bark—from its layered structure to the importance of quality ingredients—ensures every batch turns out beautifully. By mastering the role of binding and choosing the best ingredients, you can elevate this festive treat to its full potential.
Common Causes of Layer Separation
Layer separation is a common issue when making peppermint bark. Understanding the causes can help you take steps to ensure the chocolate base and peppermint topping adhere properly, resulting in a cohesive and delicious treat.
Improper Chocolate Tempering
Tempering chocolate is an essential step for achieving smooth, stable layers that stick together.
- Why Tempering Matters:
- Properly tempered chocolate has the ideal consistency for binding, ensuring the peppermint topping adheres securely.
- Untempered chocolate can become too brittle or too soft, leading to poor adherence between layers.
- Solution:
- Use a thermometer to melt and temper chocolate to the correct temperature range (88°F–90°F or 31°C–32°C for dark chocolate, slightly lower for milk or white).
- Ensure the chocolate maintains its tempered state while you layer the bark.
Overcooled or Overheated Chocolate
The temperature of the chocolate during assembly is crucial for creating a strong bond between the layers.
- Effects of Overcooling:
- If the chocolate hardens too quickly before the peppermint topping is applied, the layers will not bond properly.
- Effects of Overheating:
- Overheated chocolate can lose its structure, becoming too runny and unable to hold the topping securely.
- Solution:
- Work with chocolate that is warm but not fully set.
- Avoid overheating by melting chocolate gently using a double boiler or microwave in short intervals.
Uneven Distribution of Peppermint
The placement of the peppermint topping can significantly affect how well the layers adhere.
- Issues with Uneven Distribution:
- Clumped peppermint pieces can cause gaps, reducing surface contact with the chocolate base.
- These gaps weaken the bond, leading to sections of the topping detaching.
- Solution:
- Sprinkle the peppermint evenly across the melted chocolate layer.
- Use smaller, uniform peppermint pieces for better surface coverage.
Lack of Adequate Pressure
Applying gentle pressure during the setting process is key to ensuring the peppermint pieces bond securely with the chocolate base.
- Why Pressure Matters:
- Without pressure, the peppermint may sit loosely on the surface, increasing the risk of separation.
- Too much pressure, however, can push the topping into the chocolate unevenly or cause cracking.
- Solution:
- Lightly press the peppermint into the melted chocolate using a flat tool, such as a spatula, or the back of a spoon.
- Allow the bark to set in a cool, undisturbed area to solidify the bond.
Understanding and addressing these common causes of layer separation ensures your peppermint bark turns out cohesive and visually appealing. By tempering chocolate correctly, maintaining the right temperature, distributing toppings evenly, and applying gentle pressure, you can avoid separation issues and create a flawless treat.
Preventing Separation: Best Practices
Achieving perfectly layered peppermint bark requires attention to detail and proper techniques. By following these best practices, you can prevent layer separation and create a cohesive, visually appealing treat.
Using High-Quality Ingredients
The quality of your ingredients significantly impacts the final product’s texture, taste, and structural integrity.
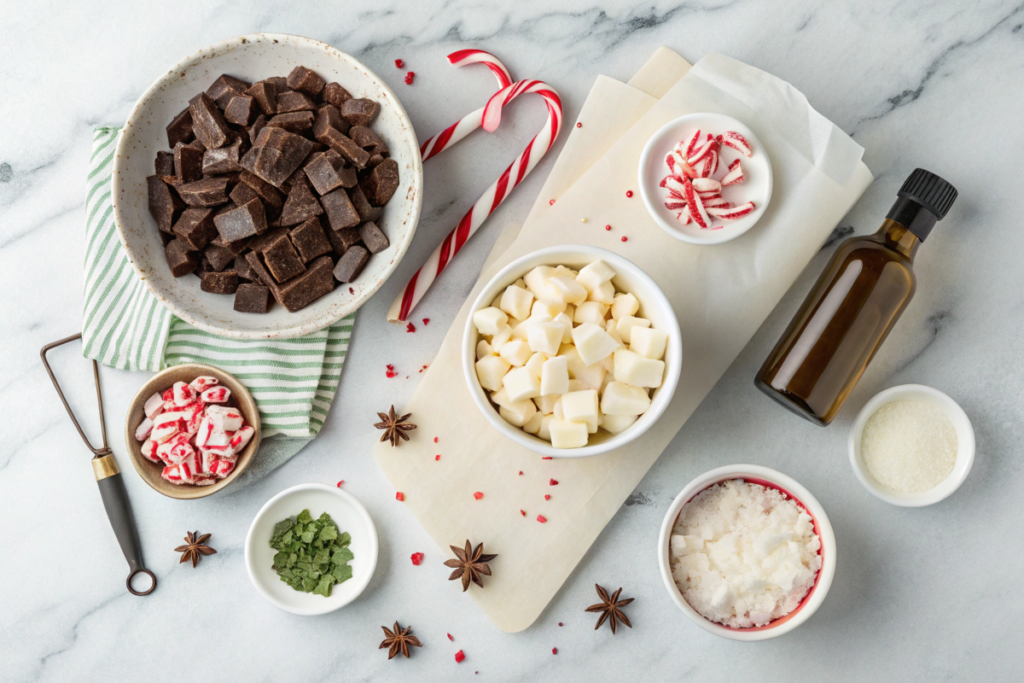
- Premium Chocolate:
- High-quality chocolate with a high cocoa butter content melts smoothly and sets evenly, ensuring a strong bond with the peppermint topping.
- Avoid chocolates with added oils or fillers, as they can affect adherence.
- Peppermint Oil:
- Use pure peppermint oil for a strong, refreshing flavor. Synthetic alternatives may lack the intensity and consistency needed for optimal results.
By investing in quality ingredients, you can enhance the taste and stability of your peppermint bark.
Perfecting the Tempering Process
Tempering chocolate correctly is essential for creating a strong and stable base.
- Step-by-Step Tempering Guide:
- Chop the chocolate into small, even pieces for uniform melting.
- Melt two-thirds of the chocolate over low, controlled heat, stirring constantly.
- Remove the melted chocolate from heat and gradually add the remaining unmelted pieces, stirring until smooth.
- Use a thermometer to ensure the chocolate reaches the ideal tempering temperature:
- Dark Chocolate: 88°F–90°F (31°C–32°C)
- Milk/White Chocolate: 86°F–88°F (30°C–31°C)
- Benefits of Tempering:
- Proper tempering ensures the chocolate sets with a smooth, glossy finish and bonds effectively with the topping.
Applying Toppings Strategically
Strategic topping placement prevents gaps and ensures a secure bond between layers.
- Even Distribution:
- Sprinkle crushed peppermint evenly across the melted chocolate to maximize surface contact.
- Avoid clumps by breaking larger peppermint pieces into smaller, uniform sizes.
- Press Gently:
- Use a flat tool like a spatula or the back of a spoon to lightly press the peppermint into the chocolate while it is still soft.
- This step helps embed the topping without pushing it too deep.
Careful topping application enhances both the visual appeal and structural stability of the bark.
Ensuring Proper Cooling and Storage
Cooling and storage conditions play a critical role in setting the bark properly.
- Ideal Cooling Environment:
- Allow the bark to set in a cool, dry place away from direct sunlight or heat sources.
- Avoid refrigeration unless necessary, as temperature fluctuations can cause condensation, weakening the bond between layers.
- Storage Tips:
- Store the bark in an airtight container to protect it from moisture and air exposure.
- Separate layers with parchment or wax paper to prevent sticking.
By maintaining proper cooling and storage, you can preserve the texture and prevent separation.
By using high-quality ingredients, tempering chocolate correctly, applying toppings strategically, and ensuring ideal cooling and storage, you can prevent layer separation and achieve flawless peppermint bark. These best practices guarantee a professional-quality treat that is as cohesive as it is delicious.
Tools and Techniques for Perfect Peppermint Bark
Creating flawless peppermint bark requires the right tools and techniques. From choosing the best cookware to mastering the art of layering, these tips ensure your treat looks and tastes professional.
Choosing the Right Cookware
Selecting appropriate cookware and tools is essential for smooth preparation and flawless results.
- Baking Sheets or Pans:
- Use a flat, rimmed baking sheet or pan to shape the bark and contain the chocolate as it spreads.
- Line the sheet with parchment paper or a silicone baking mat for easy removal and cleanup.
- Heatproof Bowls:
- Opt for microwave-safe or heatproof bowls when melting chocolate to avoid cracking or overheating.
- Glass or stainless steel bowls work well with both the microwave and double boiler methods.
- Spatula or Offset Spreader:
- A silicone spatula or an offset spreader helps evenly distribute melted chocolate across the baking sheet.
- These tools also allow for precise topping placement, ensuring a smooth finish.
- Sifter or Strainer:
- Use a fine-mesh strainer to remove excess dust from crushed peppermint before adding it to the chocolate. This keeps the topping crisp and visually appealing.
Having the right tools makes the process efficient and enhances the quality of your peppermint bark.
Precision in Layer Application
Achieving even layers is key to creating professional-quality peppermint bark.
- Spreading the Chocolate Base:
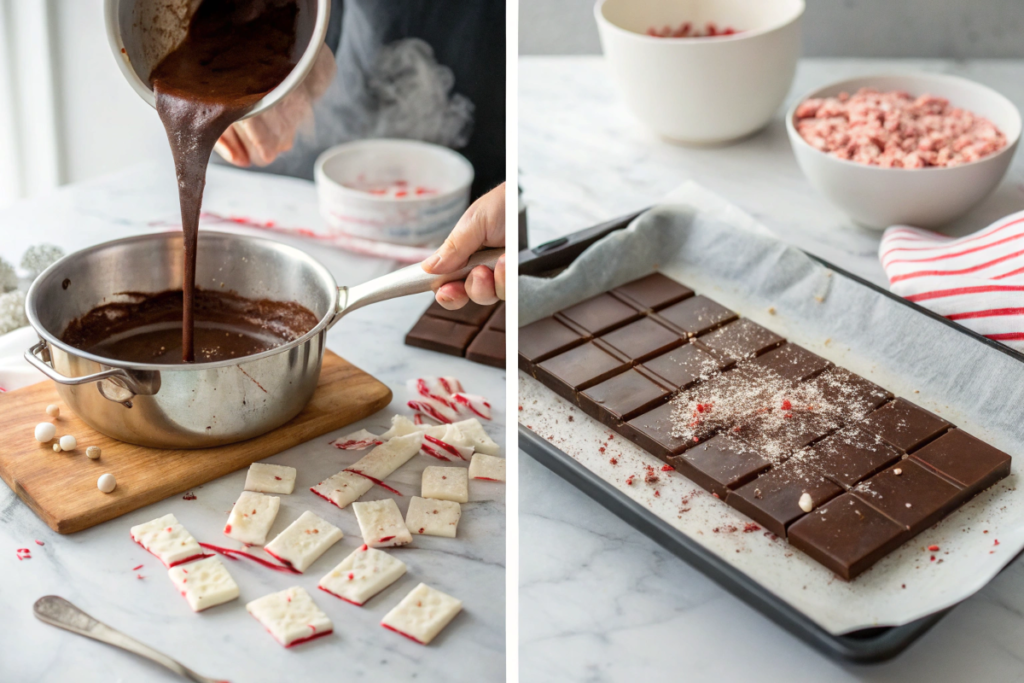
- Pour melted chocolate onto the prepared baking sheet and use a spatula to spread it into an even layer.
- Work quickly while the chocolate is still warm to ensure smooth coverage.
- Adding the Topping:
- Sprinkle crushed peppermint evenly over the chocolate, covering the entire surface.
- Avoid clumps by using uniform pieces of peppermint, which adhere better and enhance texture.
- Pressing for Adherence:
- Gently press the topping into the chocolate with the flat side of a spatula or your hand (wearing gloves).
- This step ensures the topping bonds securely without sinking into the chocolate.
- Layering Additional Chocolate (Optional):
- For layered bark, allow the base to set slightly before adding the next layer. Spread the second layer evenly, repeating the process for toppings.
Precision in layering creates a cohesive and visually appealing treat, preventing separation and ensuring a delightful texture.
By selecting the right cookware and applying layers with precision, you can elevate your peppermint bark to a professional standard. These tools and techniques ensure the treat is easy to prepare, beautiful to present, and delicious to enjoy.

Troubleshooting Tips for Peppermint Bark Issues
Creating the perfect peppermint bark can sometimes be challenging, but with these tips, you can fix common problems and avoid errors in the future. By understanding potential issues and their solutions, you can ensure your bark is both delicious and visually appealing.
Fixing Separated Bark
Layer separation happens when the chocolate and peppermint topping fail to stick together properly. Fortunately, there are simple ways to repair it.
- Using Melted Chocolate as Glue:
- First, gently pull apart the separated layers if they are partially bonded.
- Next, melt a small amount of chocolate and apply it as an adhesive between the layers.
- Press the layers together lightly and let them cool in a dry, cool place until they set.
- Reassembling Broken Pieces:
- If the bark has completely fallen apart, you can fix it by melting the chocolate base again.
- Spread the melted chocolate on a baking sheet, sprinkle the peppermint topping evenly, and press it down gently.
- Allow the bark to cool and harden before serving.
These steps help restore the structure of your peppermint bark, making it as good as new.
Avoiding Common Mistakes
Many common mistakes can be avoided with careful preparation and attention to detail.
- Mistake: Overheating the Chocolate
- Overheated chocolate can become lumpy or grainy, making it unusable.
- Solution: Always melt chocolate slowly, either in a double boiler or microwave. Stir frequently and heat in short bursts to maintain an even temperature.
- Mistake: Uneven Topping Placement
- Clumping or unevenly spread peppermint can cause gaps and affect texture.
- Solution: Distribute the topping evenly over the chocolate while it’s still warm. Using uniform pieces makes this step easier.
- Mistake: Poor Cooling Conditions
- If the bark is cooled in a humid or fluctuating environment, condensation can form, weakening the bond between layers.
- Solution: Allow the bark to set in a stable, cool, and dry area. Avoid placing it in the refrigerator unless necessary.
- Mistake: Using Low-Quality Ingredients
- Low-grade chocolate or stale peppermint can compromise the flavor and texture of your bark.
- Solution: Choose premium chocolate without fillers and fresh peppermint for a better taste and consistency.
By addressing these common mistakes, you can avoid unnecessary setbacks and create flawless peppermint bark every time.
Why These Steps Matter
Taking the time to fix mistakes and prevent issues ensures your peppermint bark is not only enjoyable to eat but also attractive to serve. With proper preparation and these troubleshooting tips, you can make bark that impresses every time.
FAQs Peppermint Bark Separation
Why is tempering important for bark?
Tempering ensures the chocolate sets properly, giving it a stable structure and a smooth, glossy finish.
What storage method is best for bark?
Store bark in an airtight container in a cool, dry place away from sunlight and humidity for maximum freshness. For more details on storage tips, visit How Long Does Peppermint Bark Stay Fresh?.
Why does my bark become sticky?
Sticky bark is often caused by moisture or high humidity. Use airtight storage and keep it in a dry environment to prevent this issue.
Conclusion
Creating perfect peppermint bark is achievable with the right tools, techniques, and attention to detail. By following best practices—such as using high-quality ingredients, ensuring proper tempering, and evenly applying toppings—you can consistently produce a flawless treat.
Additionally, don’t hesitate to get creative. Experiment with unique flavors, textures, and toppings to make your peppermint bark truly your own. With practice and a bit of imagination, this holiday classic can become a canvas for your culinary creativity.
Enjoy the process, and let your peppermint bark delight everyone this season!

