Understanding Chocolate Bark
Chocolate bark is a versatile treat loved by dessert enthusiasts worldwide. If you’re wondering, what is the best way to melt chocolate bark, mastering this process ensures a smooth and glossy finish. Its simplicity, adaptability, and rich flavors make it a perfect choice for holidays and everyday indulgence. For tips on keeping it fresh, visit How Long Peppermint Bark Stays Fresh.
What is Chocolate Bark?
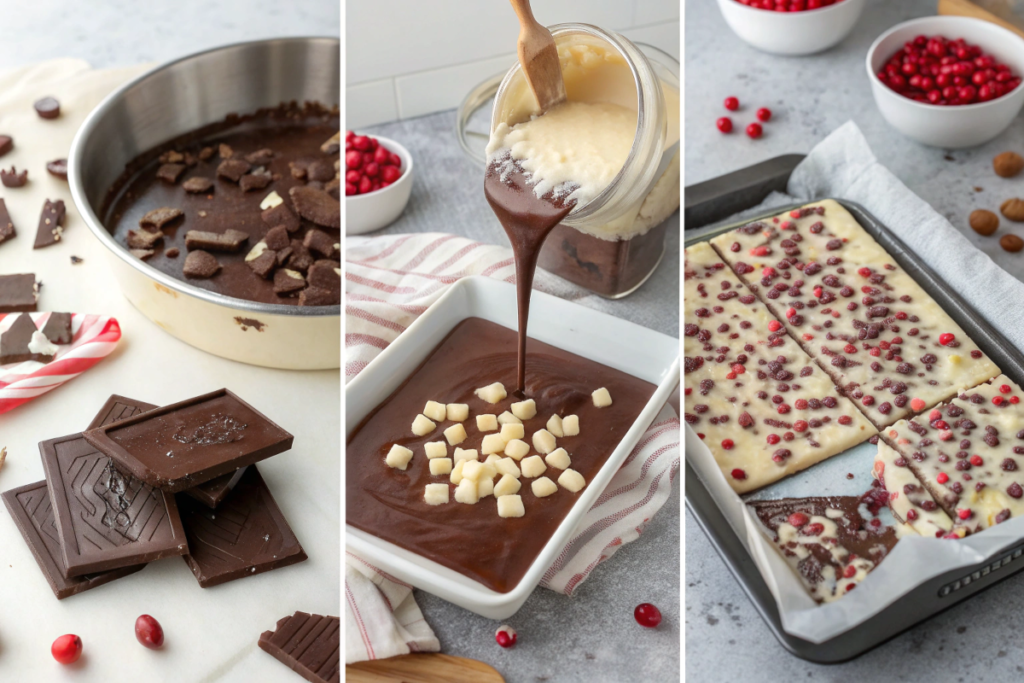
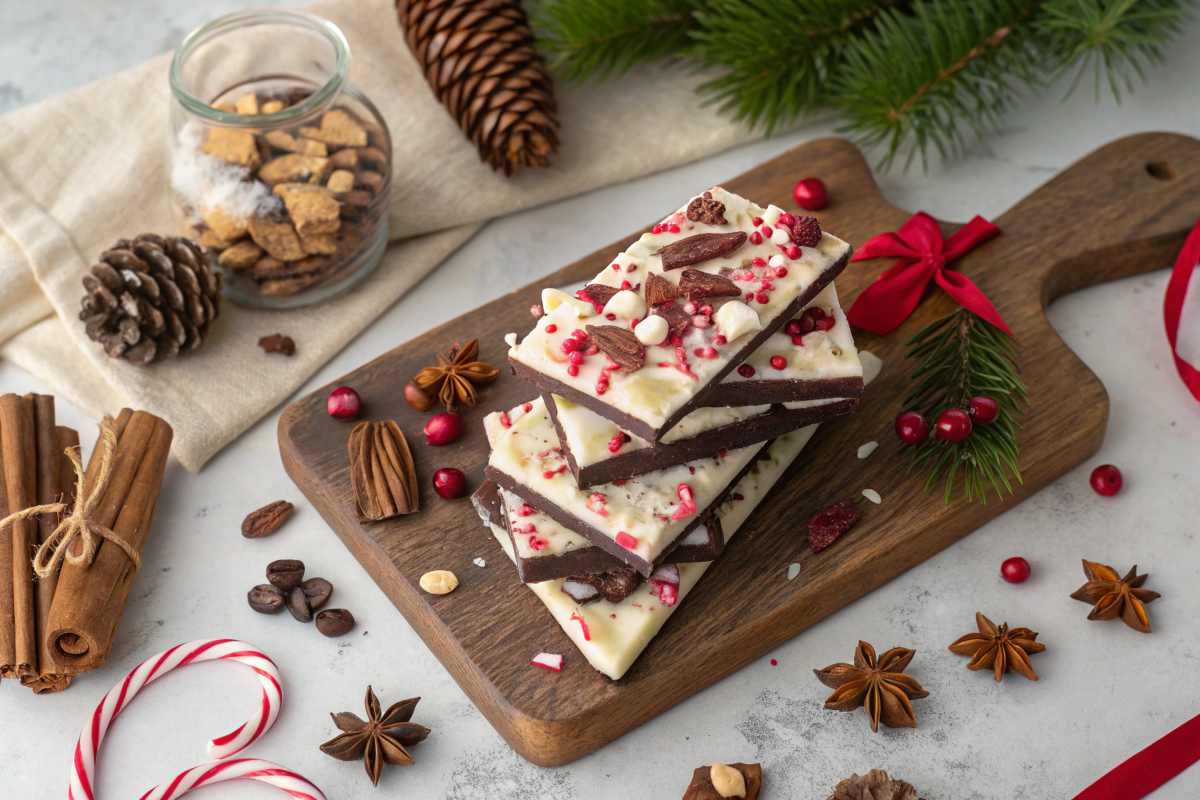
Chocolate bark is a type of dessert where you melt chocolate, spread it into a thin layer, and add toppings before it sets. After the chocolate hardens, you break it into pieces resembling tree bark, which inspired its name.
- Key Features:
- It’s quick to prepare, and you can easily customize it with different toppings.
- Smooth chocolate pairs wonderfully with crunchy additions like nuts, dried fruit, or candies.
This straightforward treat is perfect for gifting, snacking, or adding to other desserts.
Types of Chocolate Bark
Chocolate bark comes in various flavors, ensuring there’s something for everyone.
- Dark Chocolate Bark:
- This version has a rich, slightly bitter flavor that complements sweet toppings such as caramel or dried cranberries.
- White Chocolate Bark:
- Its creamy and sweet profile works beautifully with colorful toppings like candy canes or sprinkles.
- Milk Chocolate Bark:
- Milk chocolate offers a milder, sweeter taste, making it a favorite for all age groups.
- Flavored Chocolate Bark:
- Flavors like mint, orange, or coffee add a unique twist, enhancing the variety.
With so many options available, chocolate bark can easily suit any occasion or preference.
Common Uses for Chocolate Bark in Desserts
Chocolate bark is not only delicious on its own but also enhances other desserts.
- Standalone Treat:
- Enjoy it as is, or customize it with festive toppings for special occasions.
- Toppings for Desserts:
- Sprinkle crumbled bark over ice cream, yogurt, or cakes to add flavor and texture.
- Decorative Garnishes:
- Use pieces of bark to decorate cupcakes, cheesecakes, or trifles, making them visually appealing.
- Edible Gifts:
- Wrap chocolate bark in decorative bags or boxes for thoughtful, tasty gifts.
Thanks to its versatility, chocolate bark works well in both casual and elegant dessert settings.
Why Chocolate Bark is Loved
Chocolate bark stands out because of its simplicity, variety, and adaptability. Whether you enjoy it on its own or use it to elevate other desserts, this treat remains a timeless favorite.
Preparing to Melt Chocolate Bark
Melting chocolate bark is a straightforward process, but preparation is key to achieving smooth and glossy results. By using the right tools, selecting the appropriate chocolate, and following simple tips, you can ensure your bark turns out perfectly every time.
Tools Needed
Before you begin, gather the necessary tools to make the process easier and more efficient.
- Microwave-Safe Bowls:
- Use heat-resistant bowls to melt chocolate in the microwave without the risk of cracking or overheating.
- Double Boiler:
- A double boiler provides gentle heat, reducing the chances of burning the chocolate. If you don’t have one, place a heatproof bowl over a pot of simmering water as a substitute.
- Spatula:
- A silicone spatula is ideal for stirring chocolate because it prevents sticking and allows for smooth mixing.
Having these tools ready ensures a hassle-free melting process.
Choosing the Right Type of Chocolate Bark
Selecting the right type of chocolate is essential for achieving the desired taste and texture.
- Dark Chocolate:
- Offers a rich, slightly bitter flavor that works well with sweet or tart toppings.
- Milk Chocolate:
- Provides a milder, sweeter option, making it a popular choice for kids and those who prefer less bitterness.
- White Chocolate:
- Delivers a creamy and sweet profile, perfect for colorful toppings like candy canes or sprinkles.
Consider the recipe and personal preferences when choosing your chocolate bark. High-quality chocolate without added oils or fillers will melt more evenly and taste better.
Tips for Avoiding Burnt Chocolate
Burning chocolate is a common issue, but it’s easy to avoid with a few simple precautions.
- Use Low Heat:
- Always melt chocolate on low power in the microwave or over gentle heat on the stove. High temperatures can cause it to scorch quickly.
- Stir Frequently:
- Stir the chocolate regularly during melting to distribute heat evenly and prevent hotspots.
- Avoid Water Contact:
- Even a small amount of water can cause the chocolate to seize and become grainy. Ensure your tools and bowls are completely dry before starting.
- Monitor Closely:
- If using a microwave, heat the chocolate in 15- to 20-second intervals, stirring in between to prevent overheating.
Following these tips helps you achieve smooth, glossy melted chocolate that’s perfect for making bark.
With the right tools, high-quality chocolate, and careful techniques, preparing to melt chocolate bark becomes a simple and enjoyable process. By taking the time to plan, you’ll set yourself up for success and ensure your chocolate bark turns out beautifully.

The Double Boiler Method
Melting chocolate bark using the double boiler method is a reliable way to achieve smooth, creamy results. This method uses gentle, indirect heat to prevent scorching and ensures even melting.
Step-by-Step Guide to Melting Chocolate Bark with a Double Boiler
Follow these steps for perfect melted chocolate every time:
- Prepare the Double Boiler:
- Fill a medium-sized pot with about 1–2 inches of water. Bring the water to a simmer, not a boil.
- Place a heatproof bowl over the pot, ensuring the bottom of the bowl does not touch the water.
- Add the Chocolate:
- Chop the chocolate bark into small, even pieces to promote faster and more even melting.
- Place the chocolate pieces in the heatproof bowl.
- Melt Slowly:
- Stir the chocolate constantly with a silicone spatula to distribute the heat evenly.
- Continue stirring until the chocolate is fully melted and smooth.
- Remove from Heat:
- Once melted, carefully remove the bowl from the pot. Be cautious to avoid steam or water droplets falling into the chocolate.
- Use Immediately:
- Pour or use the melted chocolate as needed for your recipe before it begins to set.
Advantages of Using the Double Boiler Method
The double boiler method offers several benefits that make it a popular choice for melting chocolate bark:
- Prevents Burning:
- The indirect heat from the simmering water ensures the chocolate melts gently, reducing the risk of scorching.
- Achieves Even Melting:
- Constant stirring and low, steady heat allow for smooth, uniform results.
- Versatility:
- This method works well for all types of chocolate, including dark, milk, and white.
For those who want consistent results without the risk of overheating, the double boiler is a reliable option.

Common Mistakes and How to Avoid Them
Even with the double boiler method, there are pitfalls to watch for. Here’s how to avoid common mistakes:
- Letting Water Touch the Chocolate:
- Even a small amount of water can cause the chocolate to seize, becoming thick and grainy.
- Always ensure your tools and bowl are completely dry before starting.
- Overheating the Chocolate:
- Chocolate melts at a low temperature. If the water boils or the heat is too high, the chocolate can scorch or lose its smooth texture.
- Keep the water at a simmer and stir constantly to prevent overheating.
- Using an Improper Bowl Size:
- If the bowl is too small, it may fall into the pot. Conversely, a bowl that’s too large may trap steam, increasing the risk of water contact.
- Choose a bowl that fits snugly over the pot without touching the water.
By avoiding these mistakes, you can ensure your chocolate bark melts beautifully every time.
The double boiler method is an excellent way to melt chocolate bark, offering consistency and control. With a simple step-by-step process, key advantages, and tips to avoid mistakes, you can confidently create smooth, professional-quality melted chocolate for any recipe.
Microwave Method
The microwave method is a quick and convenient way to melt chocolate bark. When done correctly, it delivers smooth and creamy results in a fraction of the time.
Step-by-Step Guide to Melting Chocolate Bark in the Microwave
Follow these steps to melt chocolate bark safely and efficiently:
- Prepare the Chocolate:
- Chop the chocolate bark into small, even pieces to ensure even melting.
- Choose a Microwave-Safe Bowl:
- Place the chopped chocolate in a heatproof, microwave-safe bowl to avoid overheating or warping.
- Start with Low Power:
- Set the microwave to 50% power to reduce the risk of scorching the chocolate.
- Heat in Short Intervals:
- Microwave the chocolate in 15- to 20-second bursts. After each interval, remove the bowl and stir thoroughly to distribute the heat evenly.
- Monitor Consistency:
- Continue heating and stirring until the chocolate is fully melted and smooth. Be cautious not to overheat.
- Use Immediately:
- Once melted, use the chocolate for your recipe before it begins to harden.
Advantages of the Microwave Method
The microwave method offers several benefits, making it a favorite for quick preparations:
- Speed:
- This method is faster than a double boiler, melting chocolate in just a few minutes.
- Convenience:
- No additional equipment is needed, making it ideal for small batches or quick tasks.
- Ease of Use:
- The step-by-step process is simple and suitable for both beginners and experienced bakers.
For time-saving chocolate preparation, the microwave method is a reliable option.
Safety Tips and Timing Considerations
Melting chocolate in the microwave requires care to prevent burning or uneven melting. Keep these tips in mind:
- Stir Frequently:
- Always stir the chocolate after each heating interval to distribute the heat and prevent hotspots.
- Avoid High Power:
- Using full power can cause the chocolate to scorch or overheat, leading to a grainy texture. Stick to 50% power for better results.
- Monitor Closely:
- Never leave the microwave unattended while melting chocolate. Overheating happens quickly and can ruin the batch.
- Use Heatproof Bowls:
- Ensure the bowl you use is microwave-safe and can withstand high temperatures without cracking or warping.
By following these precautions, you can safely melt chocolate bark in the microwave with excellent results.
The microwave method is a fast and effective way to melt chocolate bark, offering convenience without sacrificing quality. With a simple step-by-step guide, clear advantages, and important safety tips, you can confidently prepare smooth, melted chocolate for your favorite recipes.
Alternative Methods for Melting Chocolate Bark
While the double boiler and microwave methods are popular for melting chocolate bark, alternative techniques like using a slow cooker or oven can also deliver great results. These methods are particularly useful for specific situations or preferences.
Using a Slow Cooker
A slow cooker offers a hands-off approach to melting chocolate bark, making it ideal for larger batches or multitasking.
- Step-by-Step Process:
- Chop the chocolate bark into small, even pieces for faster melting.
- Place the pieces in a heat-safe bowl that fits inside the slow cooker or directly into the cooker.
- Set the slow cooker to low heat, ensuring it doesn’t exceed 110°F (43°C) to prevent scorching.
- Stir the chocolate every 10–15 minutes until fully melted and smooth.
- Advantages:
- Perfect for melting larger quantities of chocolate.
- Provides consistent, low heat, reducing the risk of burning.
- Considerations:
- The process takes longer than other methods, requiring more patience.
- Avoid using the high heat setting, as it can easily overheat the chocolate.
Melting Chocolate in the Oven
The oven method is another alternative that works well for evenly melting chocolate bark.
- Step-by-Step Process:
- Preheat the oven to 110°F to 120°F (43°C to 49°C).
- Chop the chocolate bark into small pieces and place them in a heatproof, oven-safe bowl.
- Place the bowl in the oven and check on it every 5–7 minutes, stirring frequently to promote even melting.
- Once fully melted, remove the bowl carefully and use the chocolate immediately.
- Advantages:
- Useful when a slow cooker or microwave isn’t available.
- Provides even heat distribution, reducing the likelihood of hotspots.
- Considerations:
- The process requires close monitoring to prevent overheating.
- Not all ovens can maintain a temperature low enough for safe chocolate melting.
Comparing Alternative Methods
Each method offers unique benefits, making them suitable for different situations:
| Method | Best For | Advantages | Considerations |
| Slow Cooker | Large batches or multitasking | Hands-off, consistent low heat | Takes longer, requires stirring |
| Oven | Lack of specialized equipment | Even heat distribution, simple setup | Requires monitoring, not ideal for high-heat ovens |
| Microwave | Speed and convenience | Quick, easy, great for small batches | Needs frequent stirring, risk of hotspots |
FAQs About Methods To Melt Chocolate Bark Perfectly
What is the best temperature for melting chocolate bark?
The ideal temperature is between 110°F and 120°F (43°C to 49°C) to avoid burning or seizing.
How can I keep melted chocolate bark smooth while working with it?
Stir frequently and work in a warm, dry environment to prevent cooling or clumping.
Can I add flavors or food coloring to melted chocolate bark?
Yes, use oil-based flavors or food coloring to avoid causing the chocolate to seize.
Conclusion
Exploring alternative methods for melting chocolate bark provides flexibility and convenience for various needs. Whether you choose a slow cooker for hands-off preparation, the oven for even heat, or another method, each approach ensures smooth and delicious results.
With the right technique, you can confidently create perfect chocolate bark for any occasion.

